The Lock Layer feature allows you to restrict access to a specific layer within a playlist, so only certain users, like the team that owns the layer, can change it while others can still manage the rest of the playlist.
How Lock Layer Works
- When a layer is locked, only users who belong to the same team as the layer owner can access or modify that layer
- The Account Holder always has access
- Users in the Administrator team always have access
- All other users can see the playlist but cannot access or edit the locked layer
When to Use Lock Layer
Common use cases include:
- Keeping your logo or watermark permanently visible on client/team managed playlists
- Managing part of the screen yourself while allowing clients/team to control the remaining area
- Protecting critical content from accidental edits by sub-users or clients
Use Case 1: Locking a Watermark Layer
This use case allows clients to manage playlist content while keeping your logo or branding protected.
Steps
Create a Team
- Create a team (for example: Team A)
- Add your client or users as sub-users
- Assign them to Team A
- Give Team A access to playlists with Read-only permissions
Create Your Playlist
- Create a new playlist
- Add a small layer (for example, bottom corner)
- Upload your logo or watermark to that layer
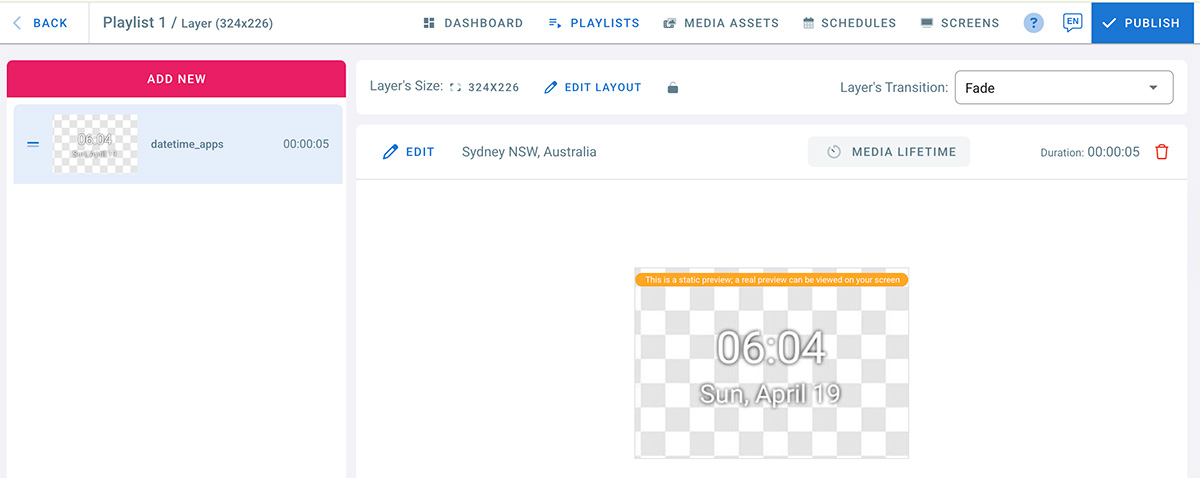
- Click Lock on that layer
- Make sure you are either the Account Holder or in the Administrator team
Publish to Screen
- Assign the playlist to your screen
- Click Publish
Result
- Team A can manage the playlist content
- Team A cannot access or modify the locked watermark layer
- Your branding remains protected at all times
Use Case 2: Giving Clients/Team Control Over One Layer Only
This use case allows you to manage part of the screen while giving clients control over a specific area.
Steps
- Follow the same steps as Use Case 1
- Instead of a small layer:
- Create a larger layer that fits the area you want the client to manage
- Lock the layers you want to protect
- Leave the client-managed layer unlocked
Result
- You retain control over critical screen areas
- Clients can safely manage content in their assigned layer
- No risk of overwriting protected content
Screen Access Recommendations
- You can give Team A:
- Read-only access to screens, or
- No screen access at all
- This ensures users can manage playlists without interfering with screen assignments or protected layers
Notes & Best Practices
- Locked layers are still visible during playback
- Locking does not affect playback or performance
- Use clear team naming (e.g. Client – Store A) for easier management
- Combine Lock Layer with Team-based access for maximum control
Click Back to return to the layout preview.