A Channel is a collection of playlists that can be used to create your own content channel by reusing playlists.
Step 1: Create a Channel
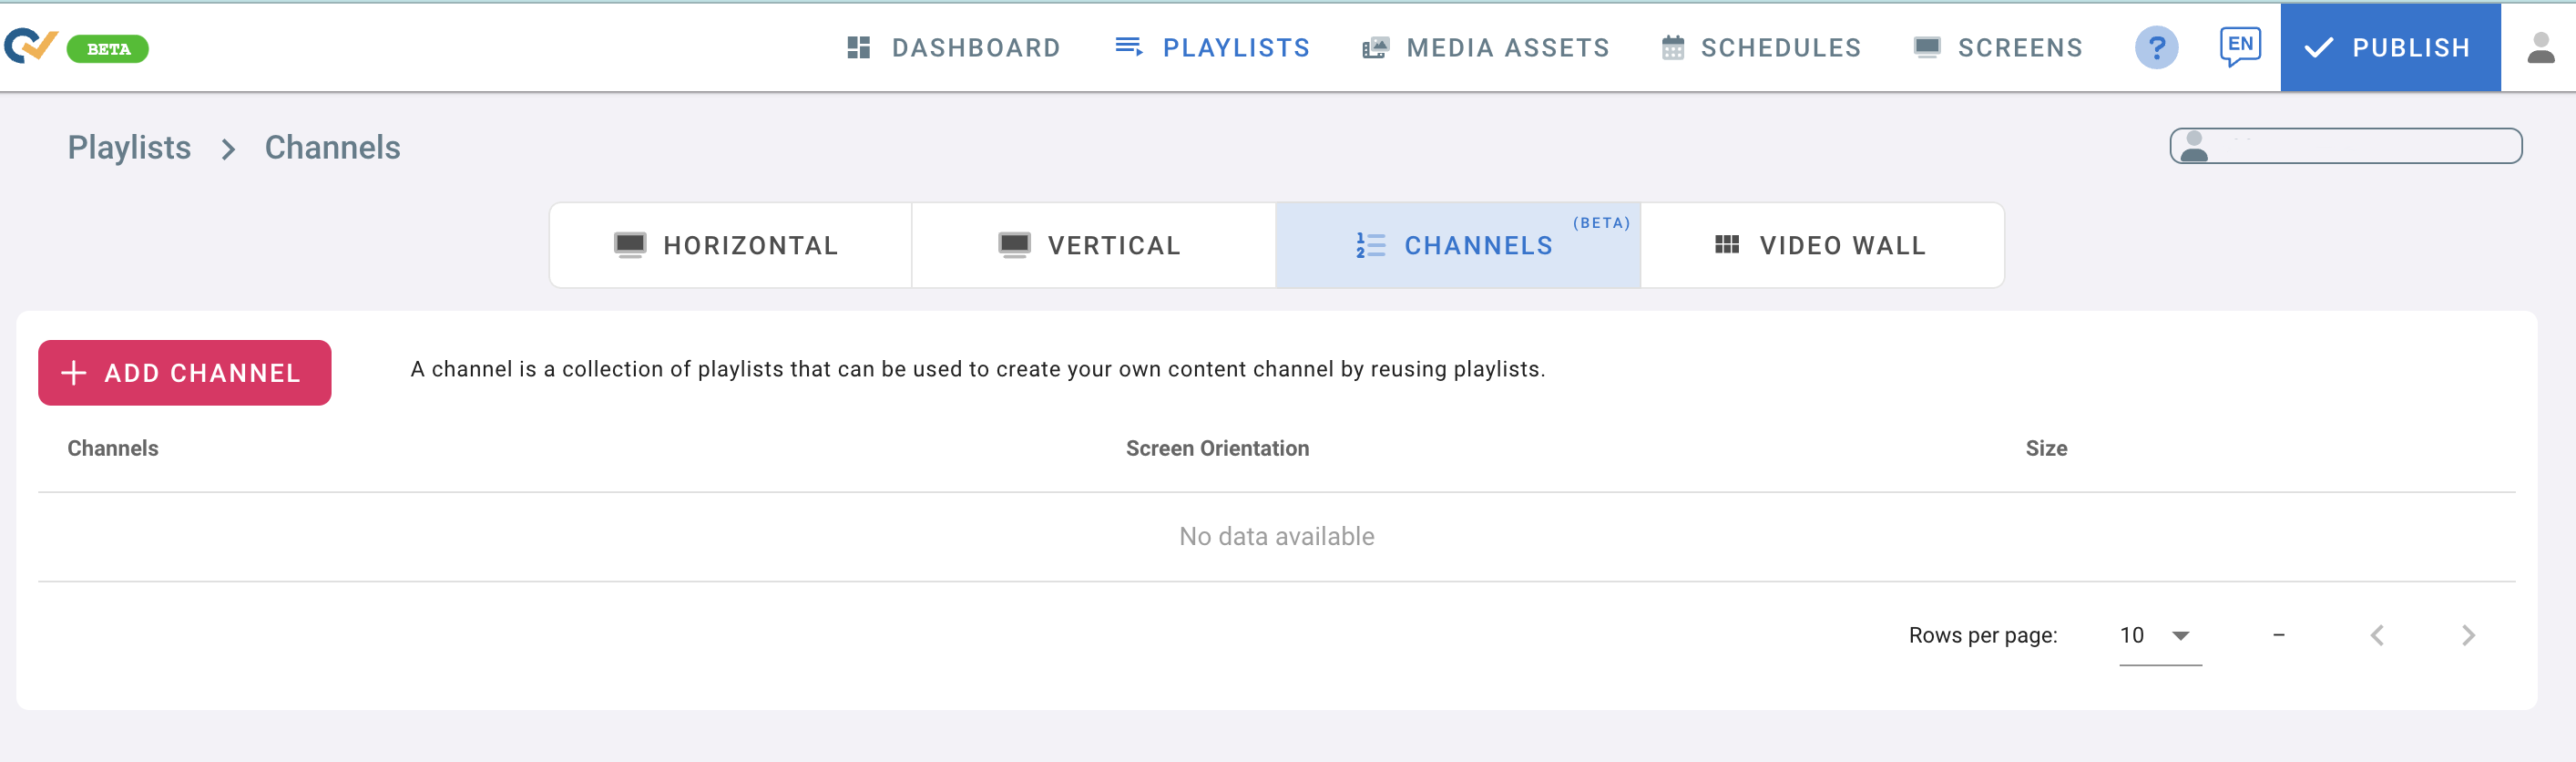
- Go to the Playlists page
- Click on Channels Tab
- Click on Add Channel
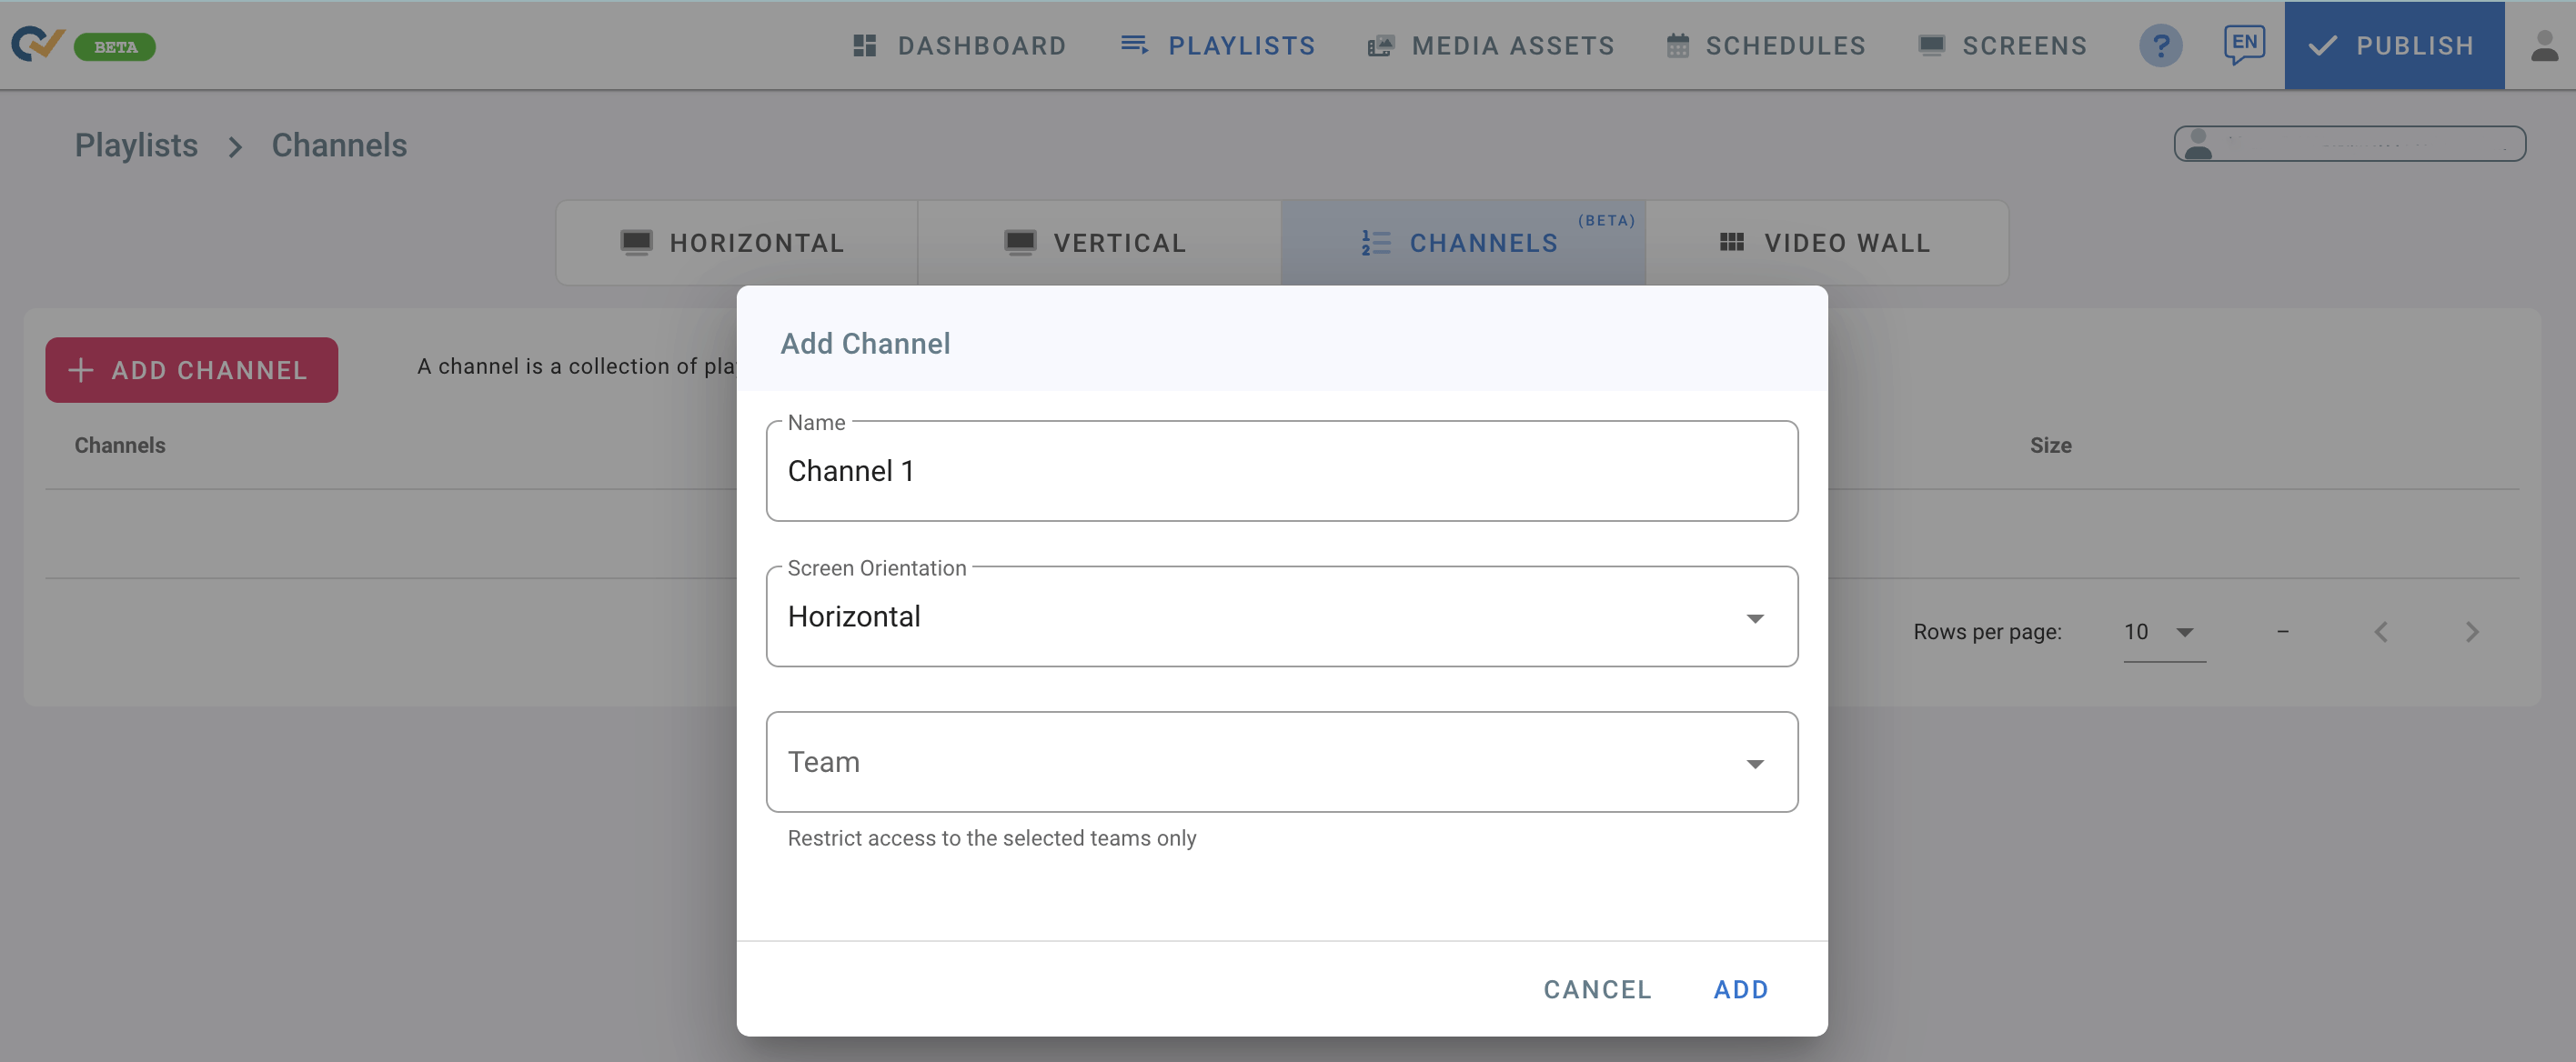
- In the “Add Channel” box, click on “Name” field and write the name of the channel you want to create.
- Choose the Screen Orientation from the drop down list.
- Select a “Team” you want to restrict the access to.
(Teams must be created before adding a Channel. To add Teams and give access to channels, check Teams in User Management ) - Click on “ADD”.
- Once you click ADD, another screen will open to assign playlists to the channel you created.
(Playlists must be created before adding Channels)
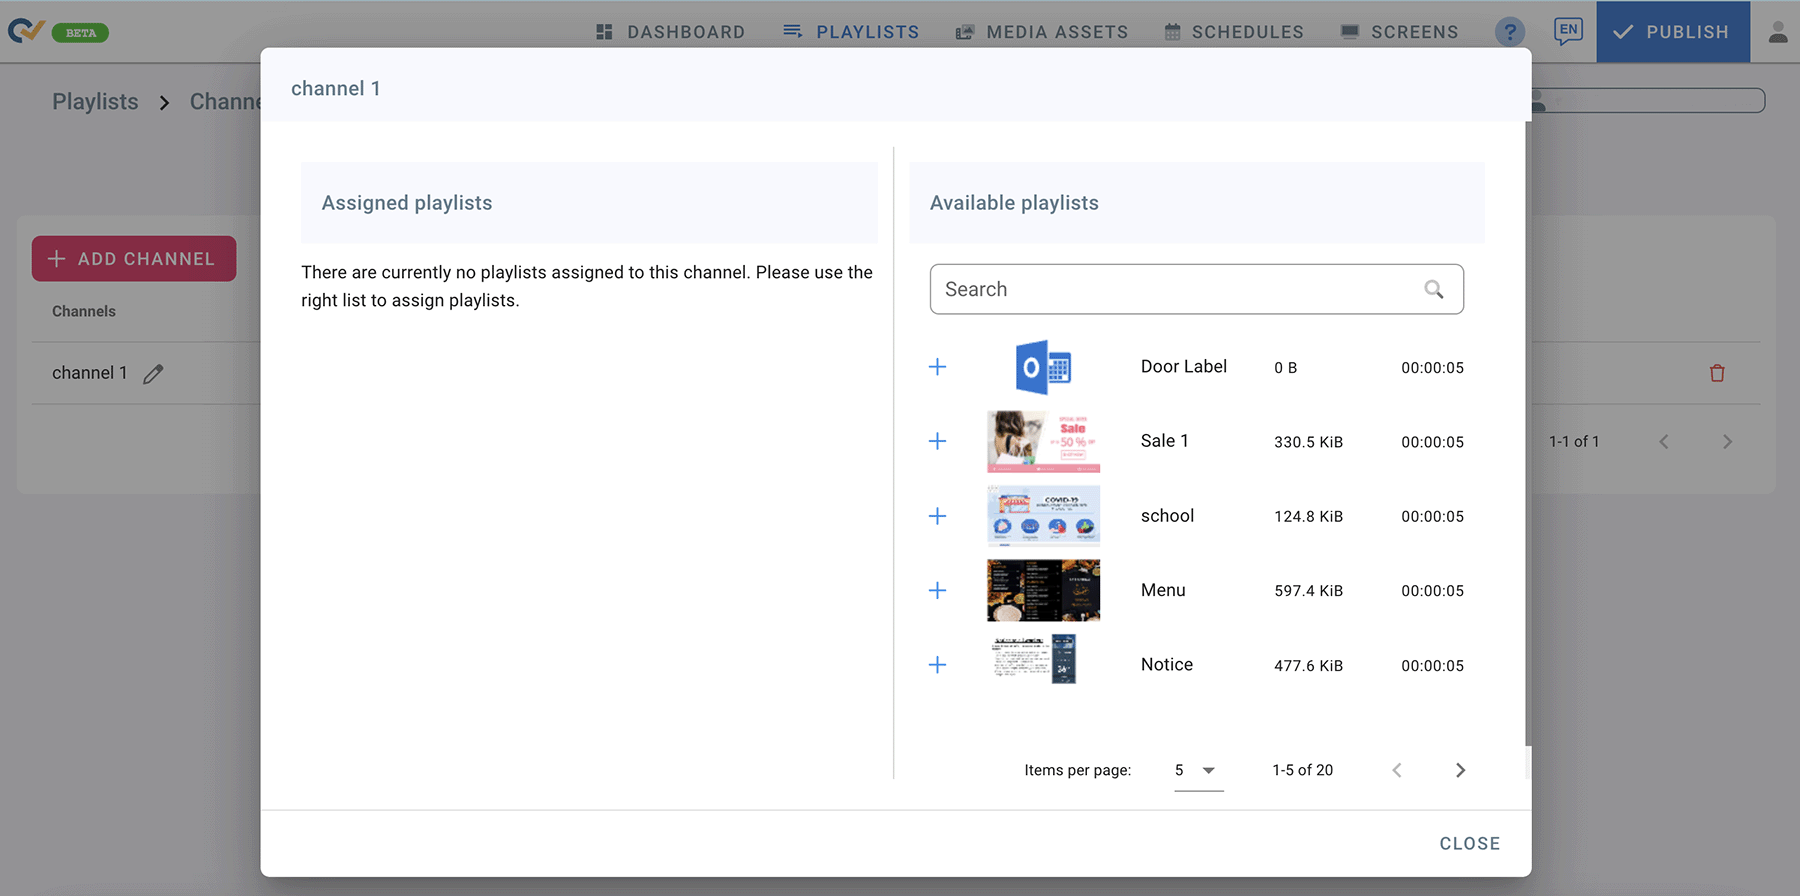
- Available Playlists will be shown on the right side of the screen.
(If you choose Horizontal as a channel screen orientation, only horizontal playlists will appear. If you choose Vertical as a channel screen orientation, only vertical playlists will appear). - Click on the + sign to add playlists to the channel.
- The assigned playlists will appear on the left side of the screen.
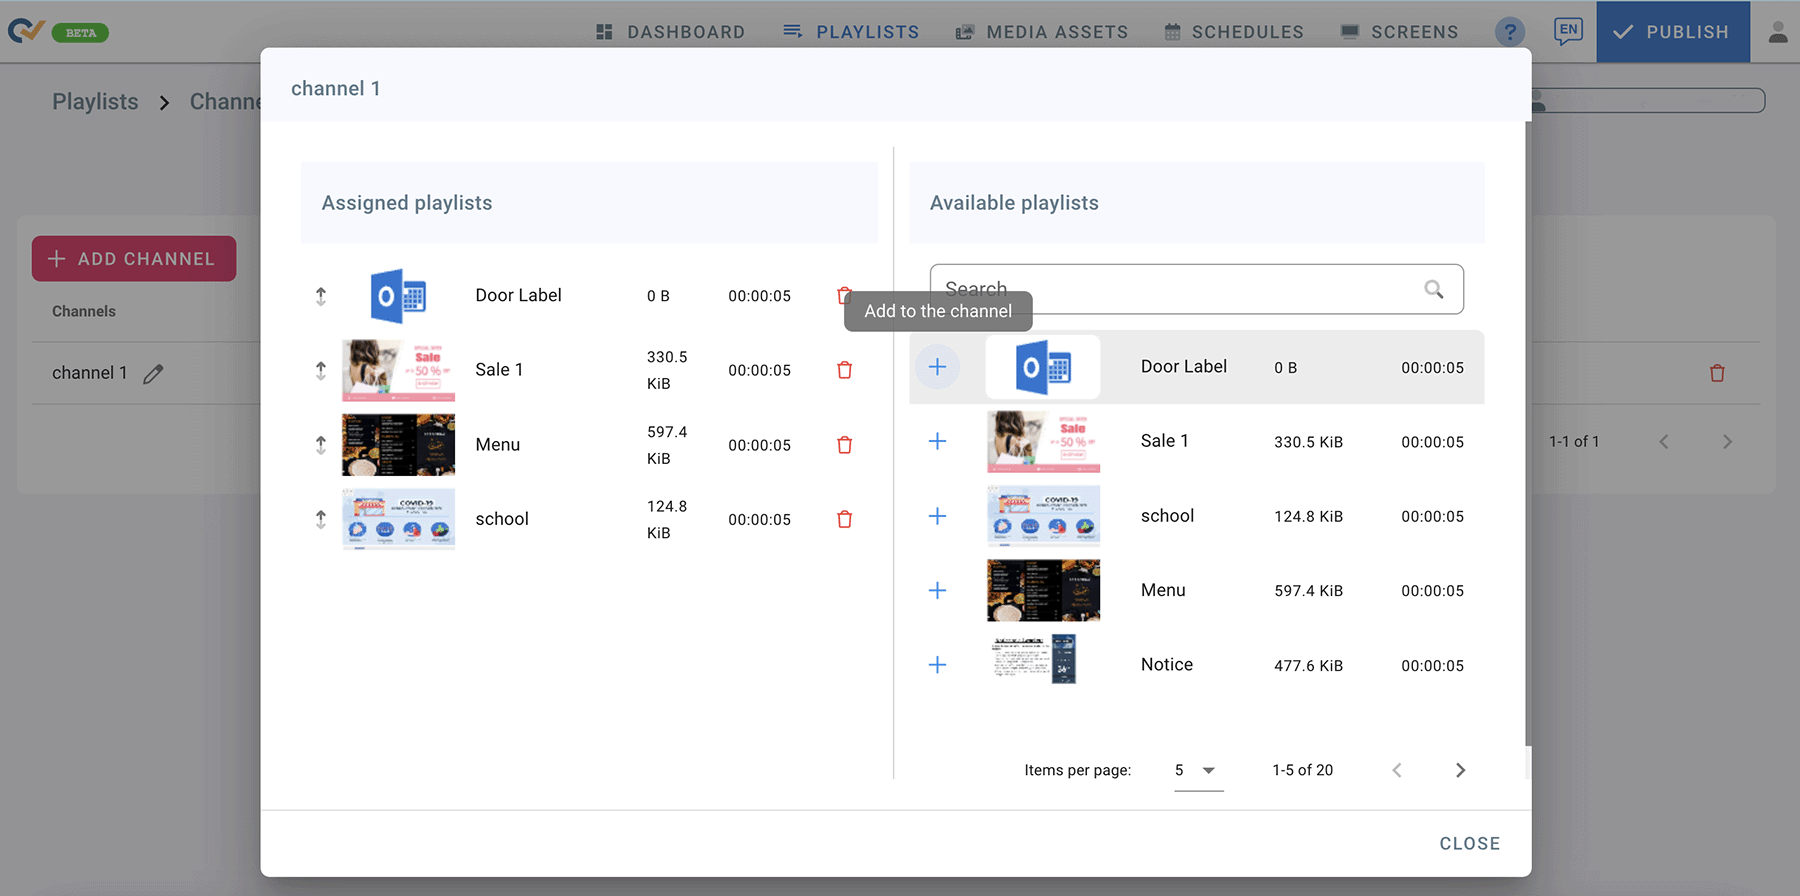
- To delete an assigned playlist, Click on “delete” next to the playlist.
- In the Assigned Playlists List, you can change the Playlist position by Drag and Drop. Just click-hold the playlist and move it upwards or downwards to the desired place.
- Once you finish assigning playlists to the channel, click on Close.
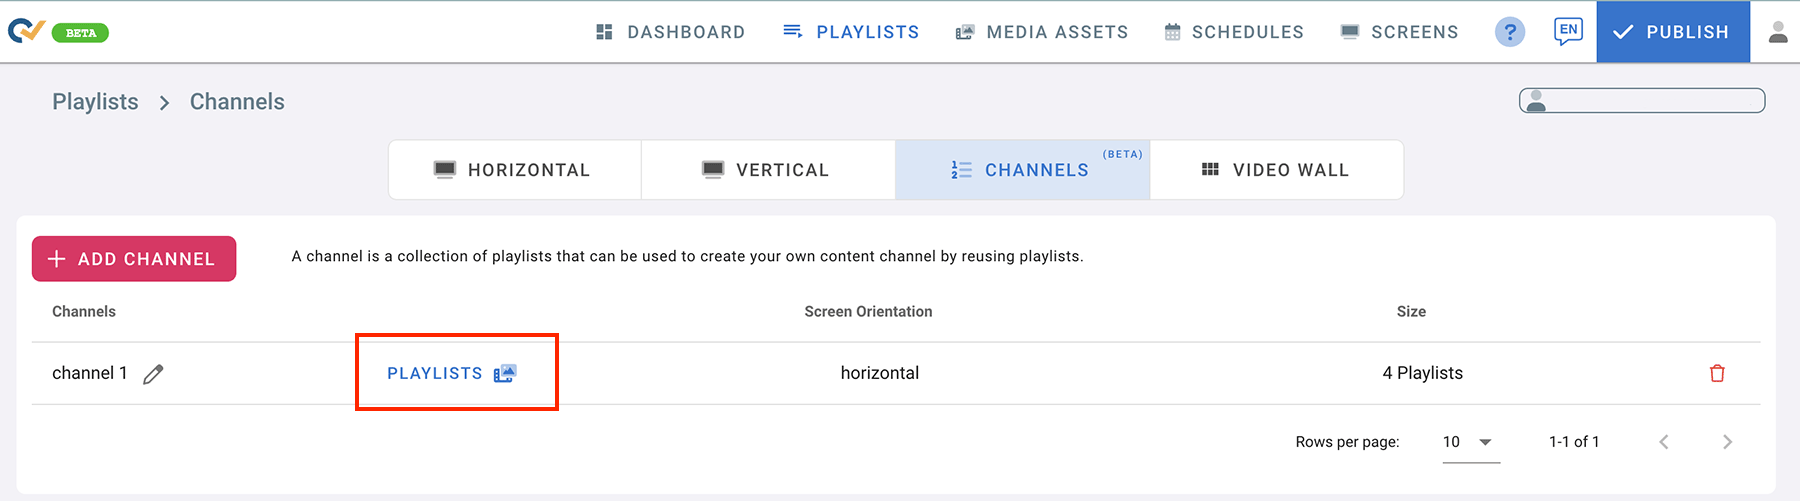
- To edit Playlists in the Channel, click on the “PLAYLISTS” column next to the channels name.
Step 2: Add a Channel to a Screen
- Go to the “SCREENS” page.
- Click on Media Source(Source Type).
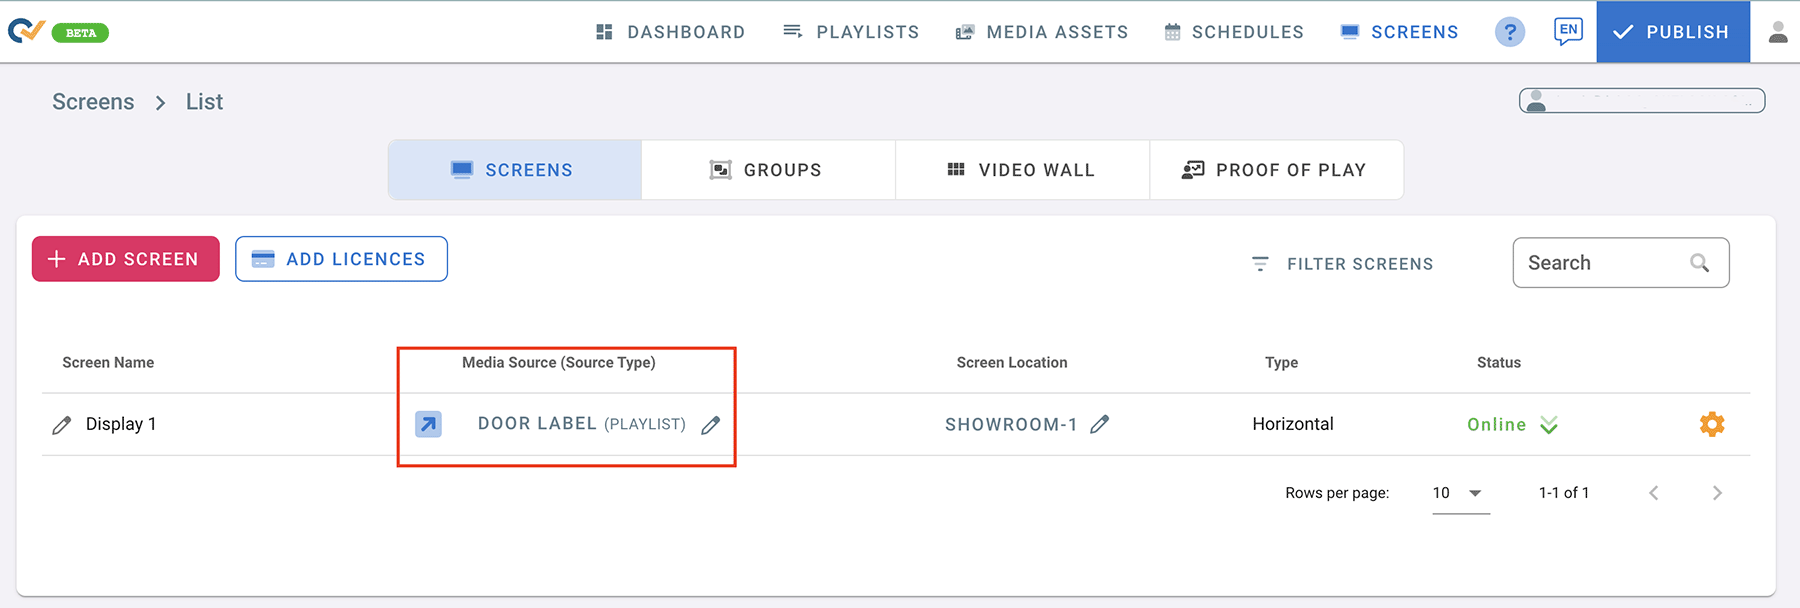
- “Choose Source” screen will open.
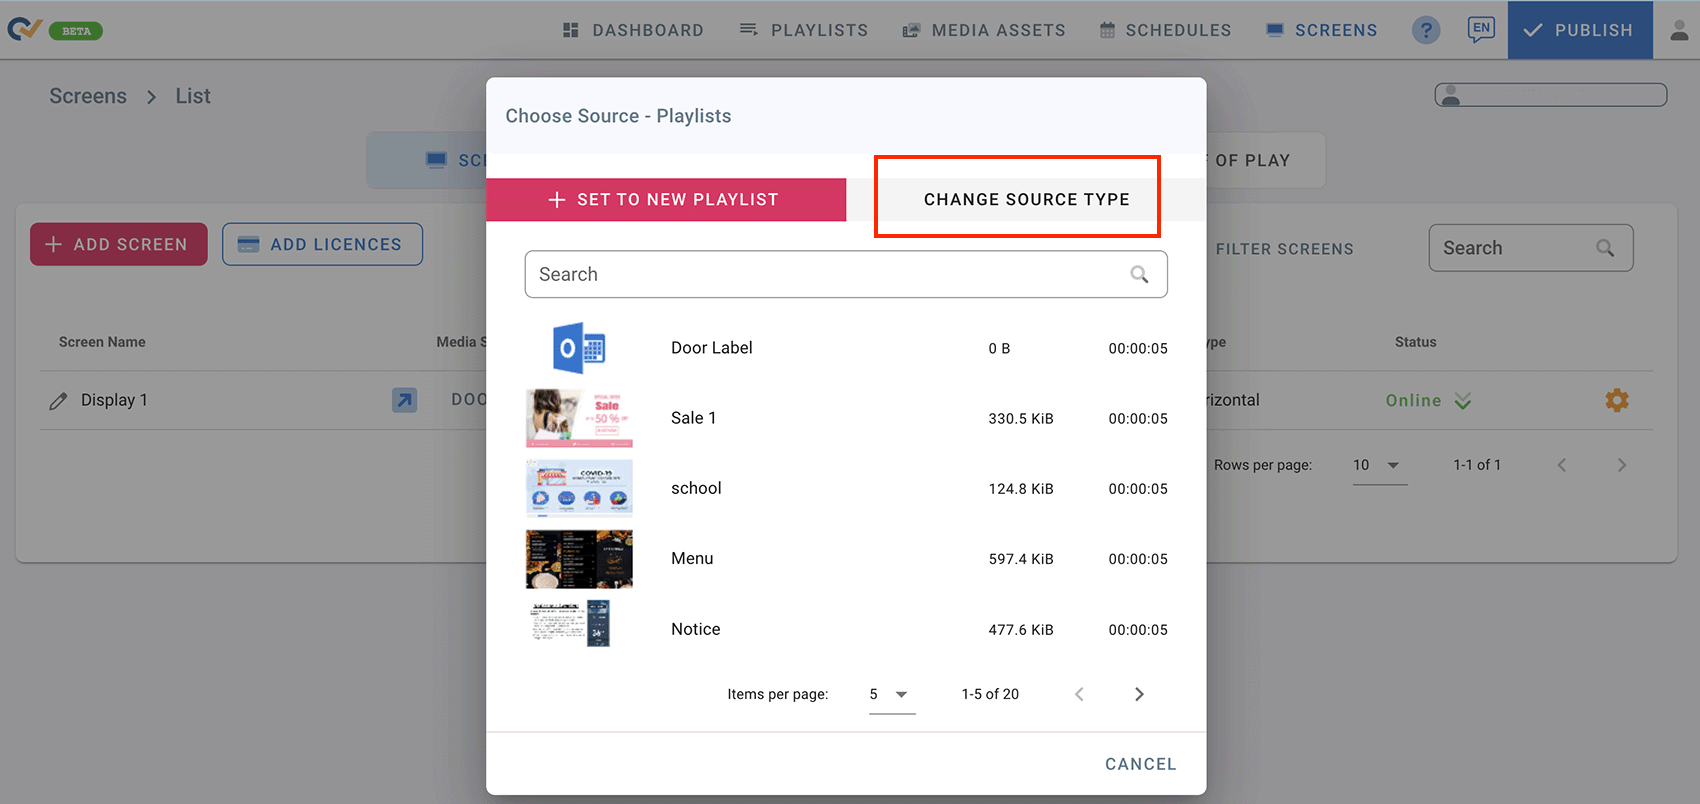
- Click on “CHANGE SOURCE TYPE”.
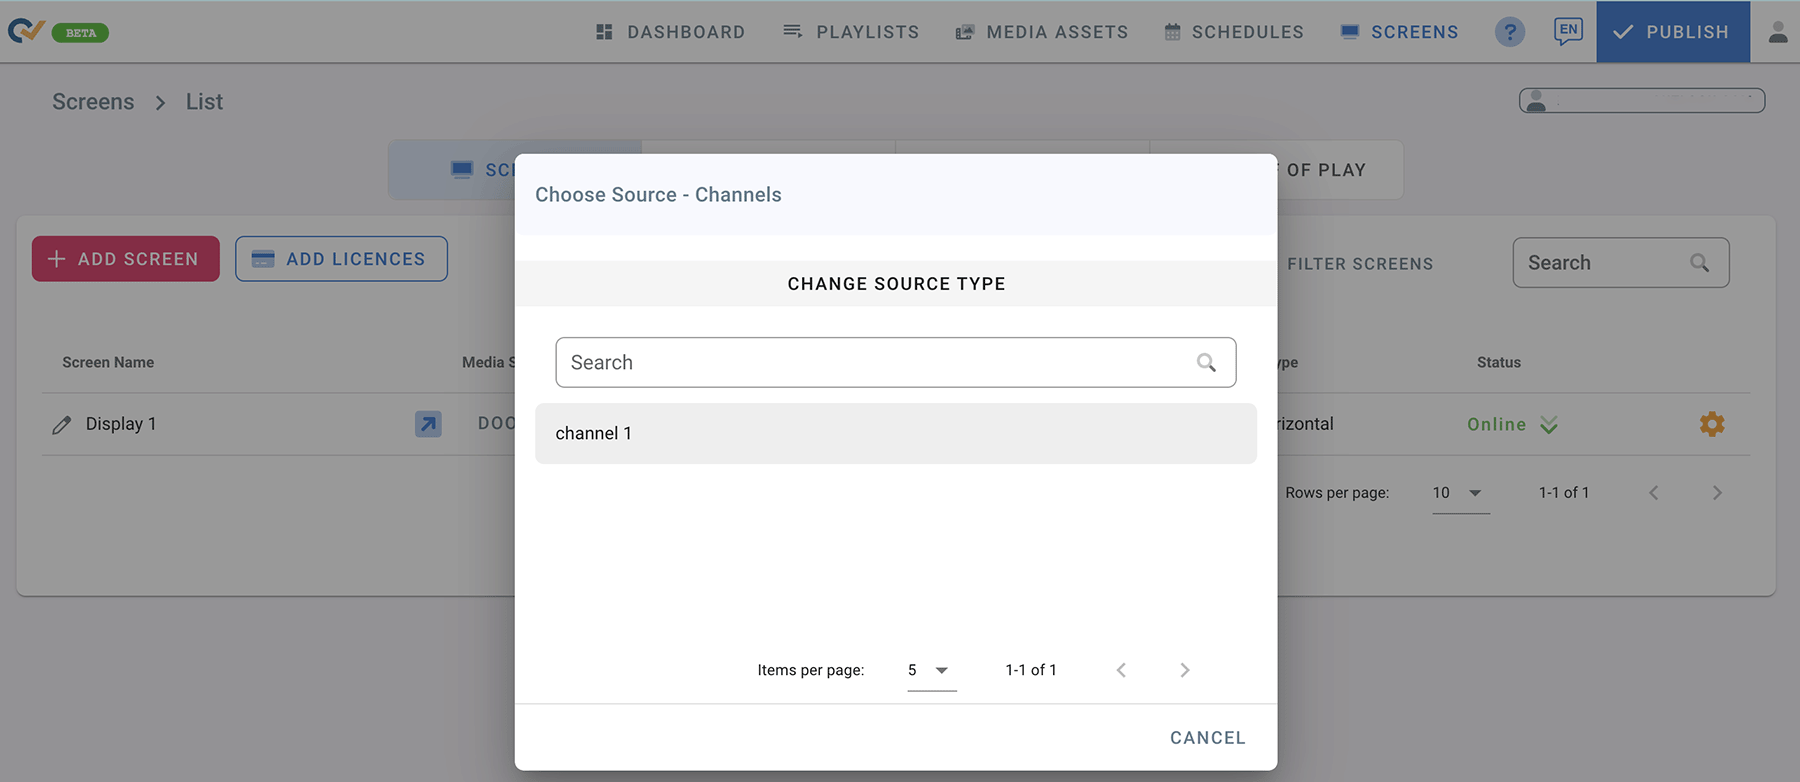
- From the “Choose Source Type” screen, select “Channels”.

- Choose the Channel Name you want to display on the screen.
- Click on Publish.
- Your Channel will download and play on your screen.