Standalone Mode
1. Download the autorun file
The latest autorun.zip file can be downloaded from https://appds.io/bs/autorun.zip
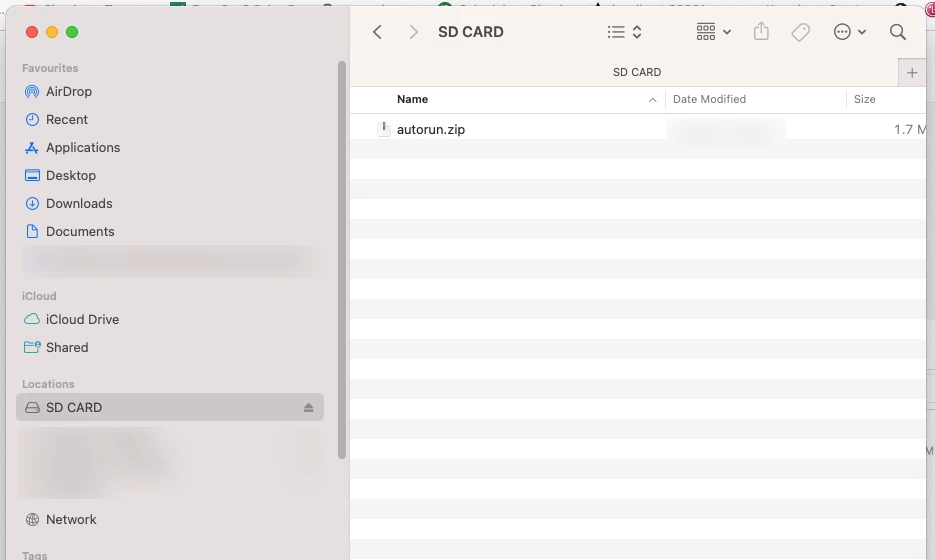
2. Copy the autorun file to your storage device
Copy the autorun.zip file to the the root of your SD card. DO NOT extract the zip file.
3. Insert the SD card into the player and let it finish the setup
The BrightSign player will read the data from the autorun file and complete the setup automatically. It will take a few minutes and may reboot a few times. Once the setup process is complete, you will see the digital signage player running on your screen with the pairing code showing up.
Please make sure your BrightSign player is connected to the internet.
4. Pair the screen
Now you are ready to go to your portal, and pair the screen using your screen’s code and start assigning content to it. For detailed steps, click here.